

What Your Customers See: Portal Walkthrough
This guide walks through the returns portal exactly as your customers experience it. Use it to answer customer questions, train support staff, and understand where your policy settings surface. To brand the portal, see Setup ShipBob Returns.
Step 1: Order Lookup
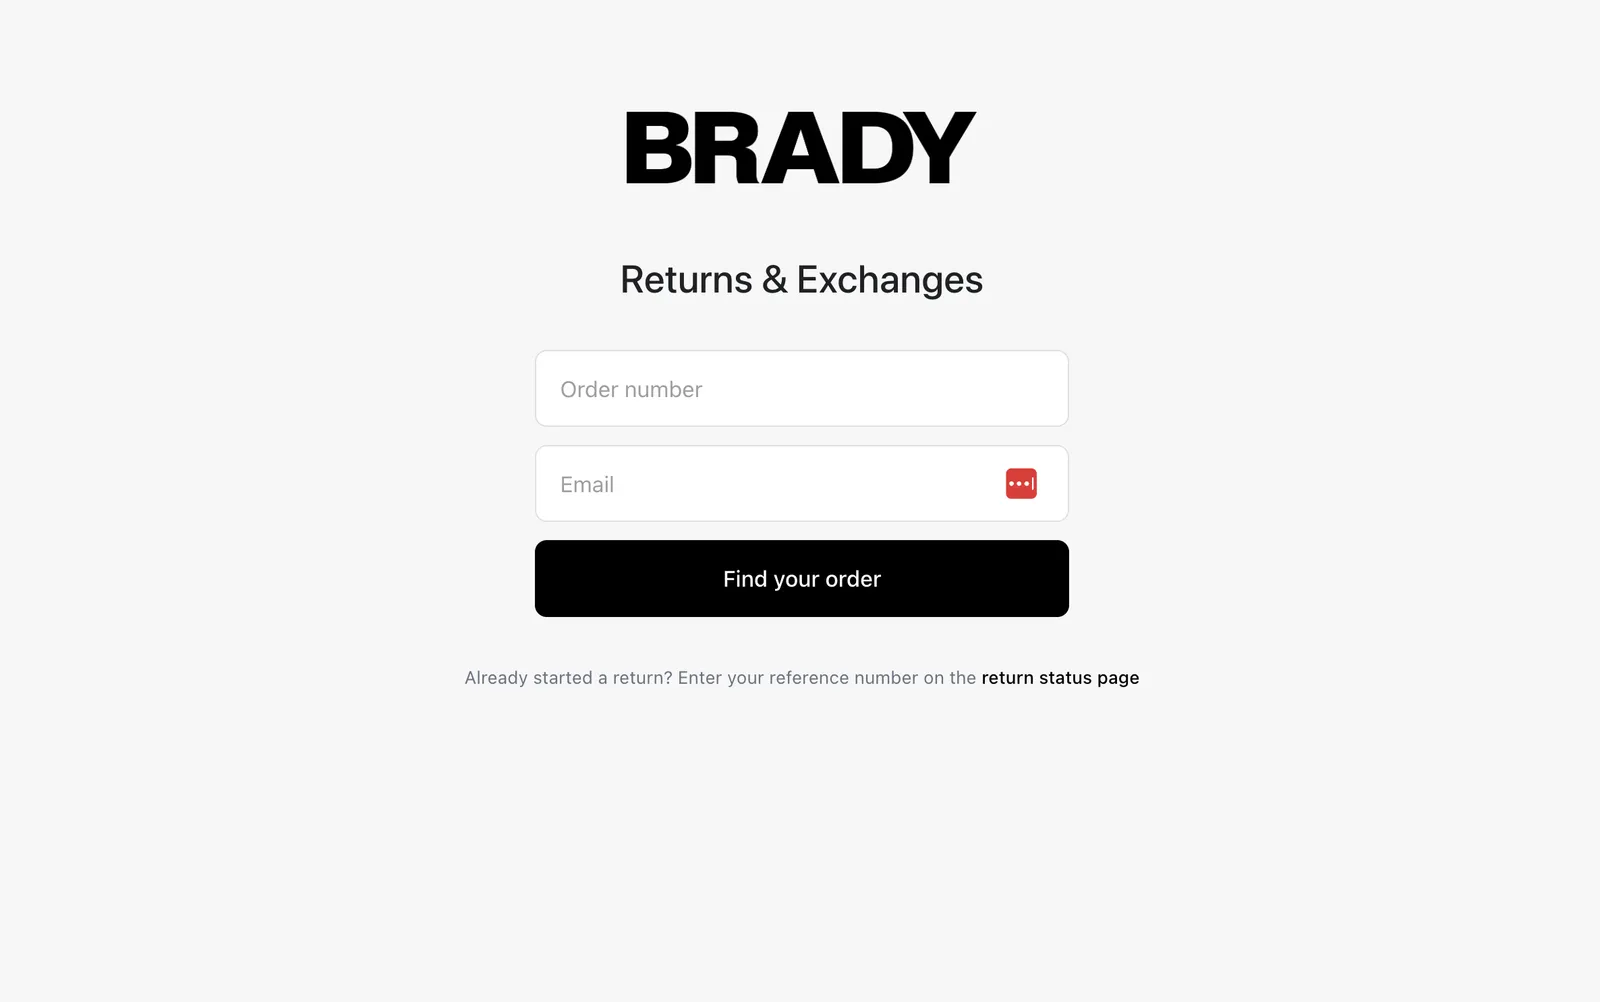
The customer lands on your portal (for example, https://your-store.returns.shipbob.app or your custom domain) and enters:
- Order number — with or without the
# - Email — the email address on the order
Both must match the Shopify order. If the customer already has a return open for that order, they see You already have a return for this order with a link to its status page instead of starting a duplicate.
Step 2: Selecting Items
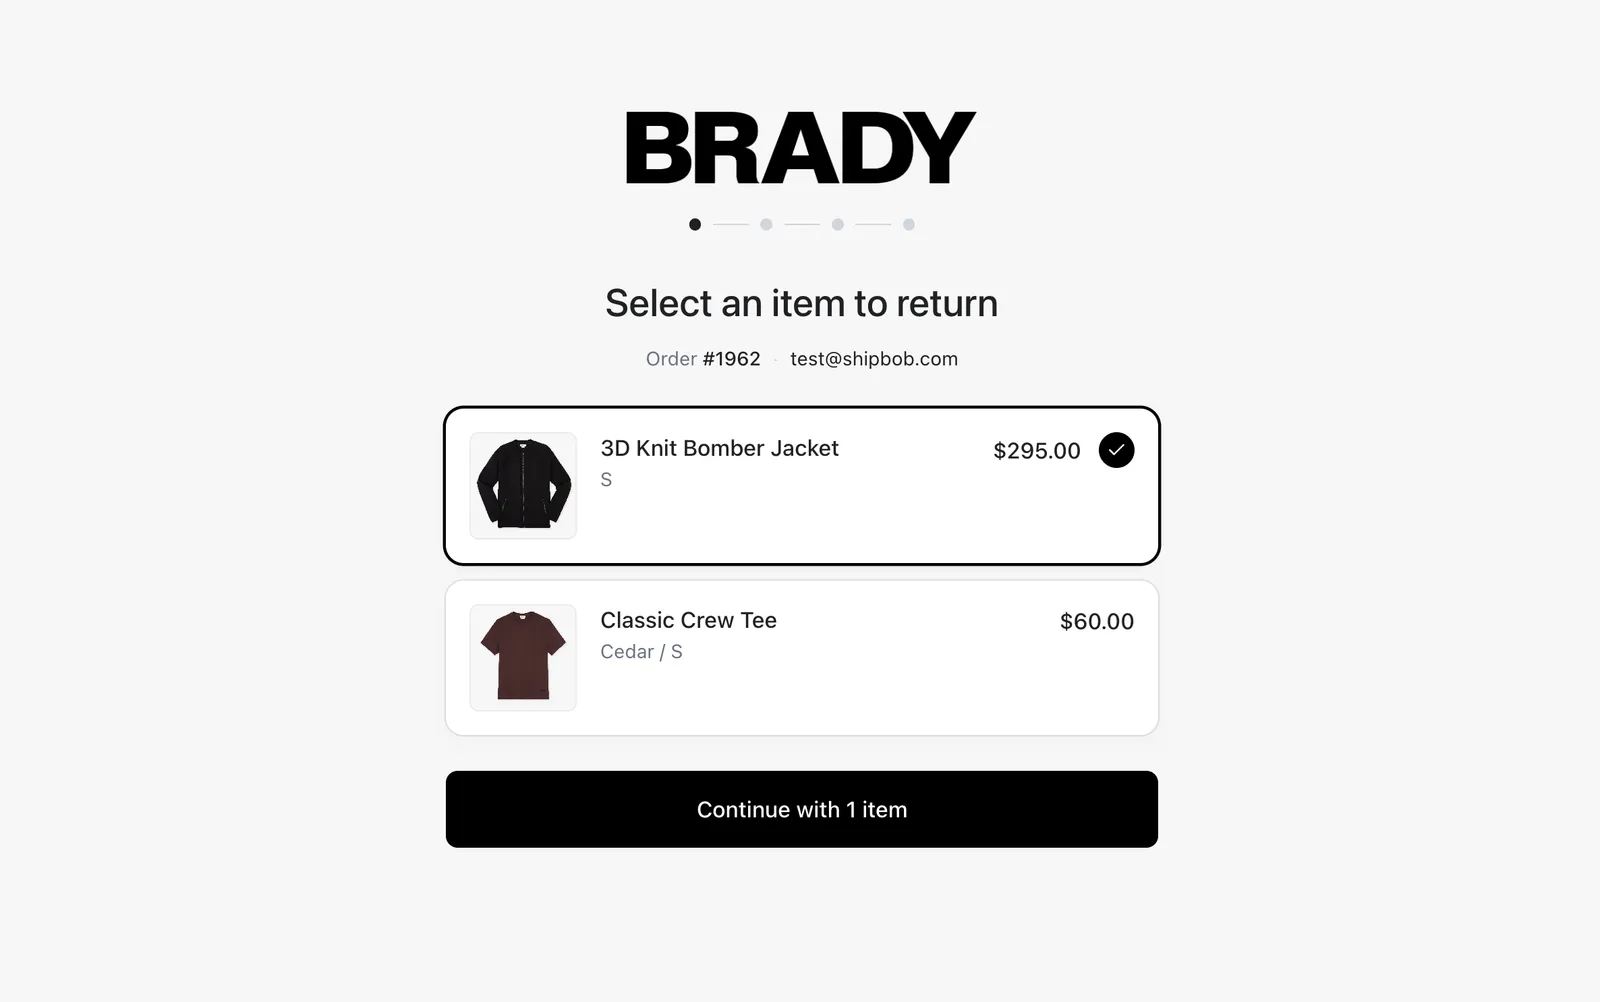
Eligible items appear with checkboxes and a Return qty selector for multi-quantity lines. Items that cannot be returned are listed separately under Non-returnable items, each with the reason it is blocked:
Bundles: items sold as a bundle are handled according to your settings — either returned as a complete set (Bundles are returned as a set) or, if you allow it, partially with a proportional refund.
A running Estimated refund total updates as items are selected.
Step 3: Reason, Condition & Photos
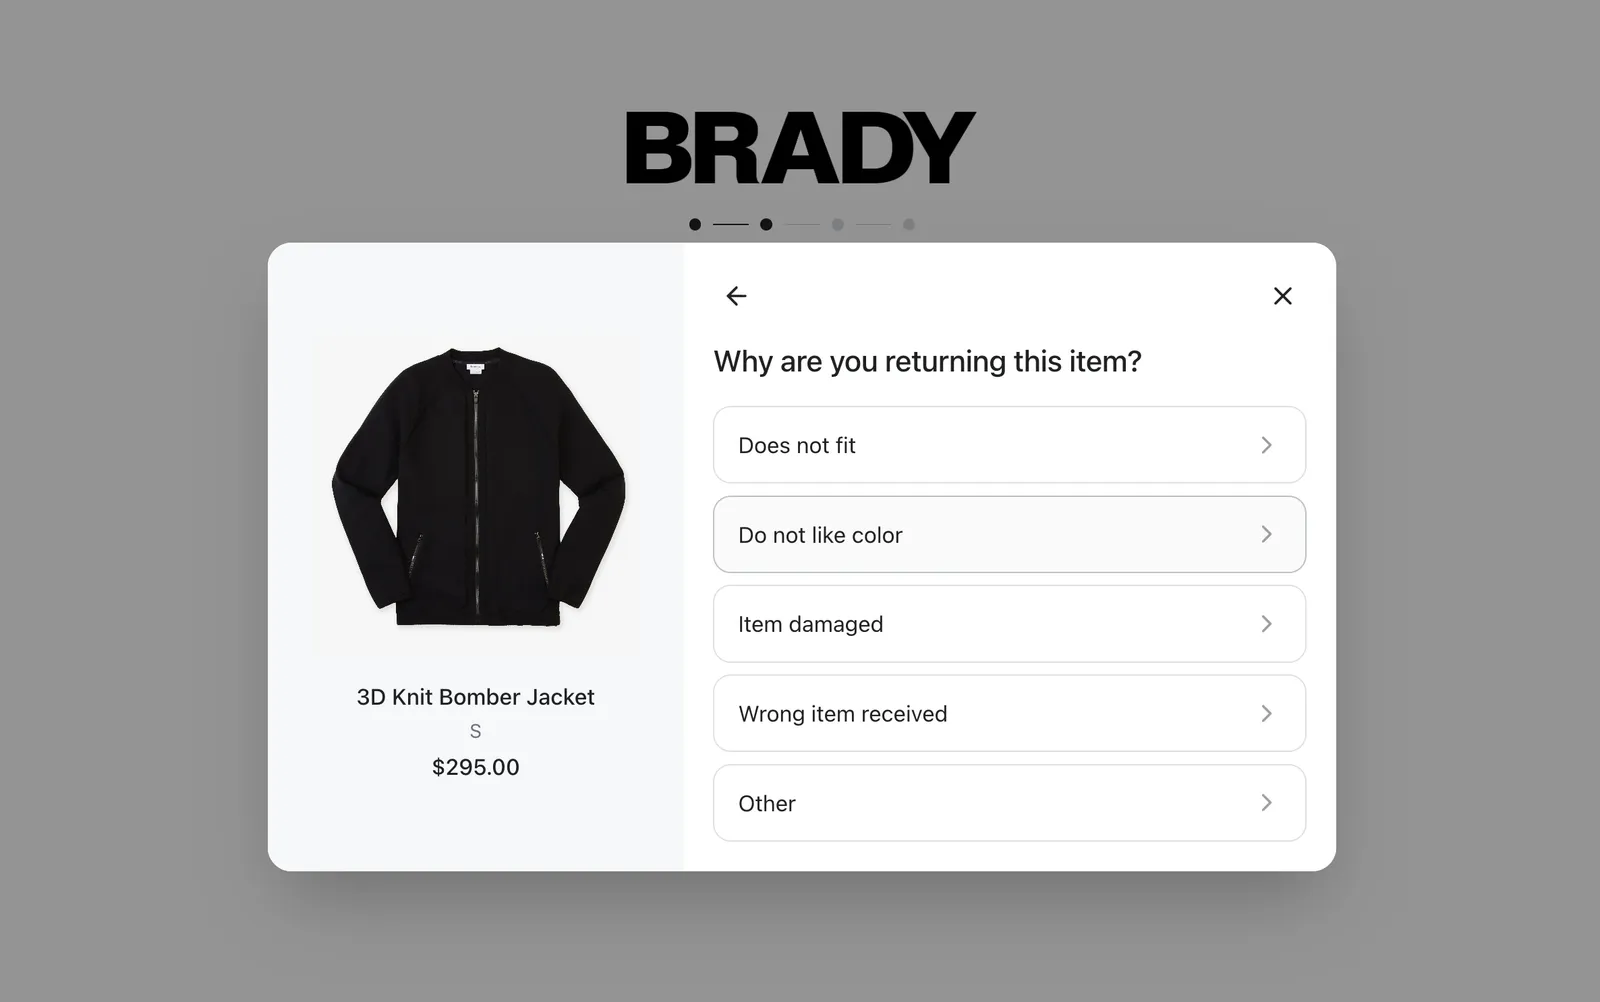
For each item, the customer:
- Picks a return reason from your configured list.
- Answers condition questions, if you have them enabled: Has the item been opened?, Has it been used or worn?, Is the item damaged?
- Uploads photos when required — either by your condition settings or by an Ask Customer flow.
These answers and photos appear on the return detail page in your dashboard and feed your flow conditions.
Step 4: Choosing an Outcome
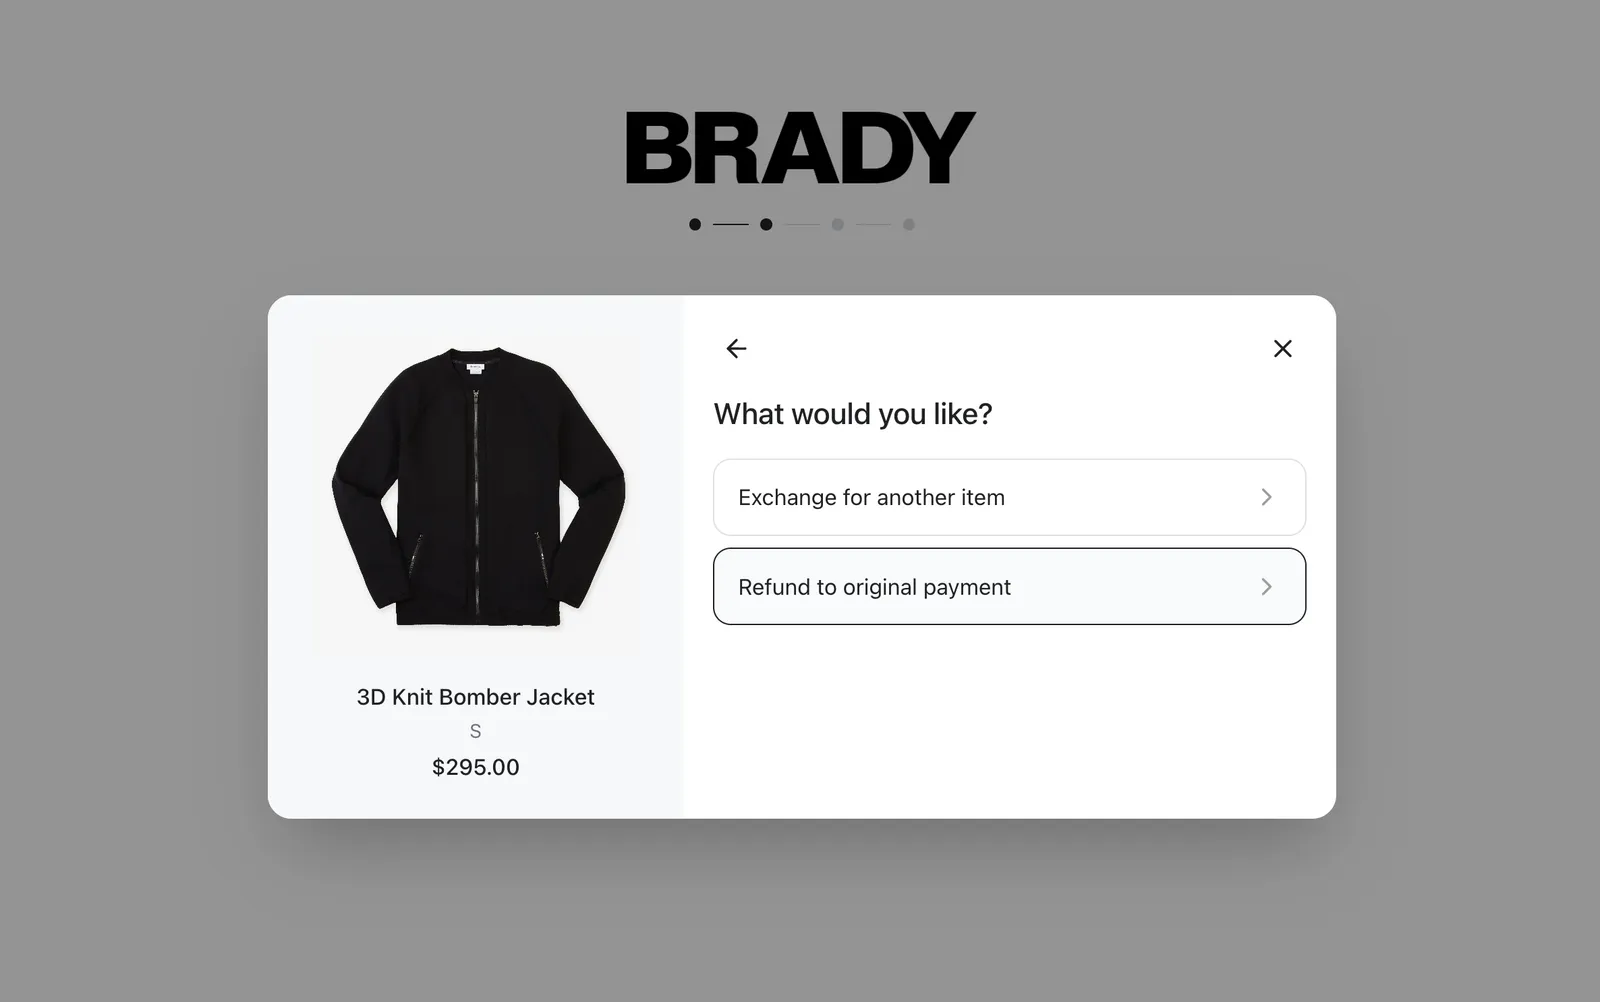
Depending on what you allow (and any Block Exchange / Block Refund flows), the customer chooses:
- Refund to original payment
- Exchange for another item — with a product/variant picker
See Exchanges and Upcoming Outcomes for details.
Step 5: Review and Submit
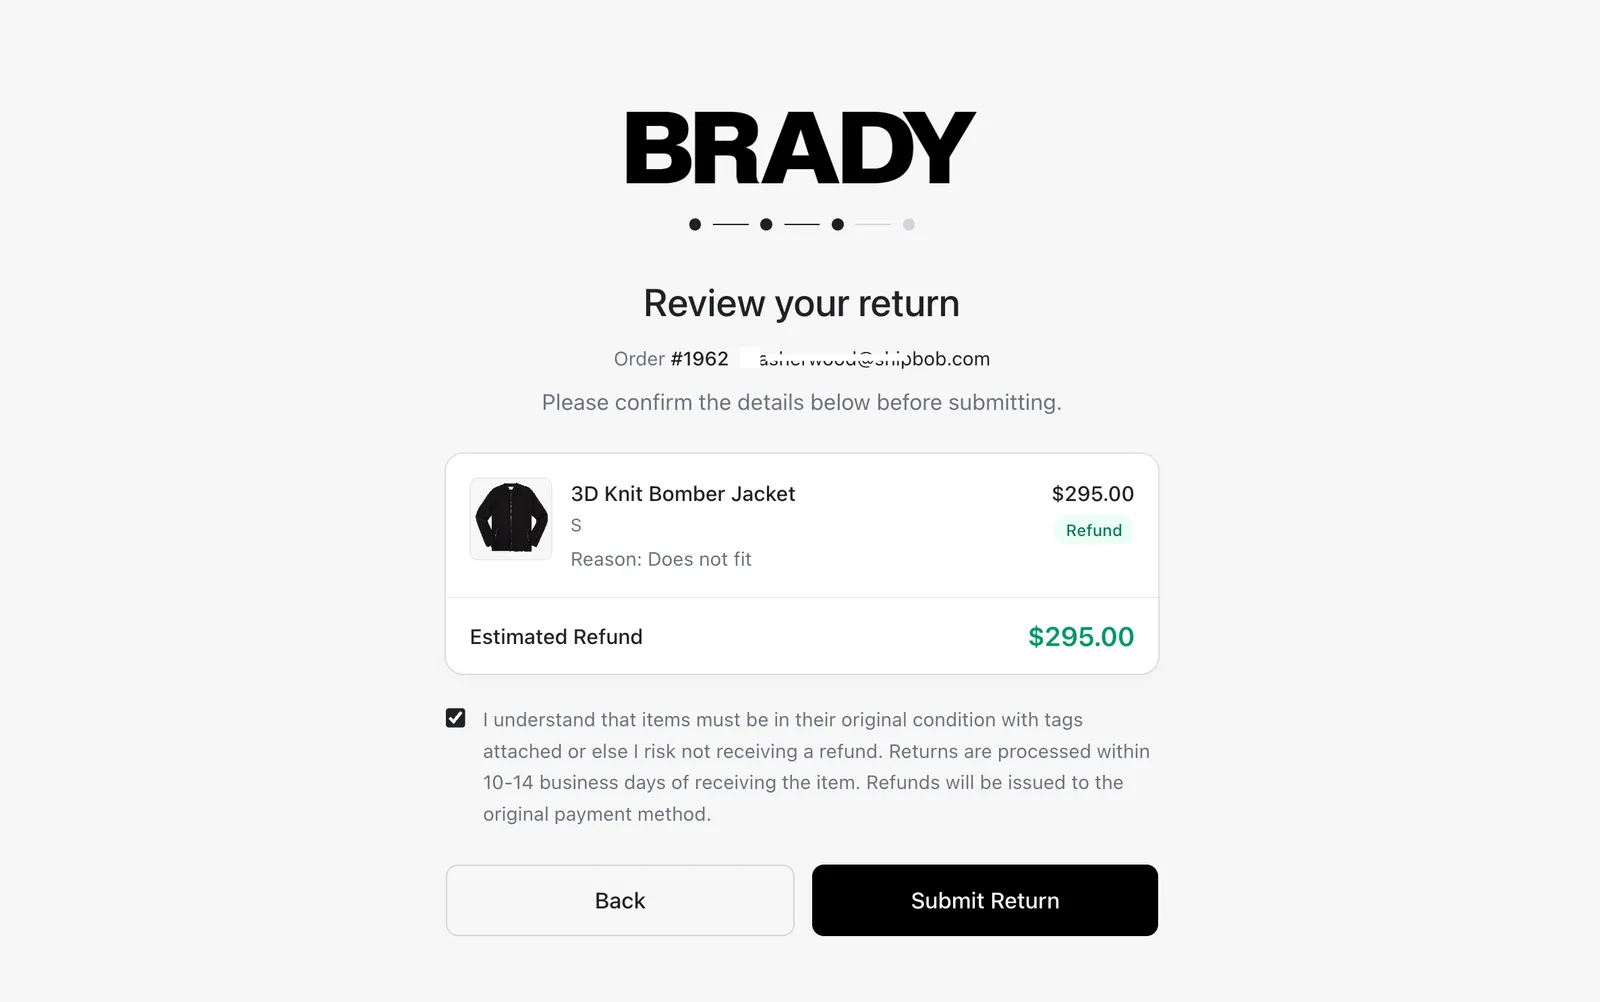
The Review your return page summarizes everything:
- The items and reasons
- Estimated Refund — already net of any refund deduction you configured (see Refunds, Fees & Deductions)
- For exchanges, the Resolution (Product Exchange) and any Price difference to pay, with a payment link if the new item costs more
Step 6: Confirmation
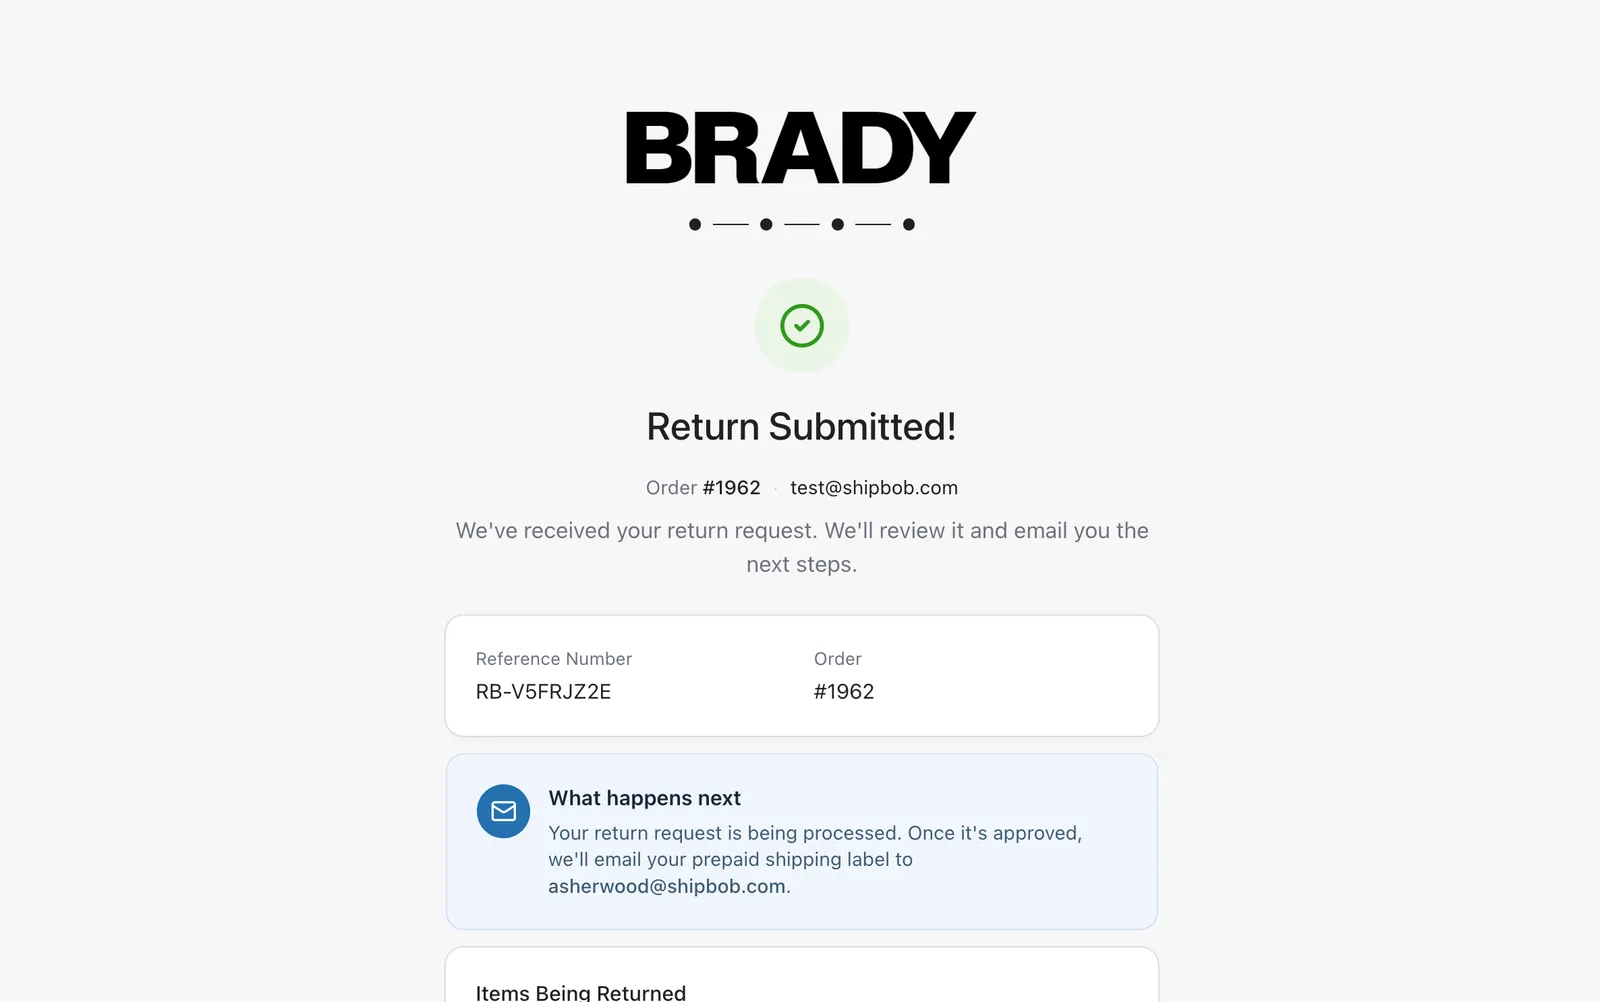
After submitting, the customer sees Return Submitted! with their Reference Number (an RB- number) and a What’s next? summary:
- Standard path: the return will be reviewed; once approved, the prepaid shipping label is emailed; pack the items, drop the package at any authorized shipping location, and the refund is processed after the items are received.
- Keep-item path: if a Keep Item flow matched, the customer is told they don’t need to send anything back.
A confirmation email is sent immediately.
Step 7: Tracking the Return
The customer can follow progress on the Return Status page (linked from their emails). It shows:
- A Timeline through Submitted → Awaiting Arrival → In Transit → Arrived → Completed
- Return Details — order, customer, submission date, carrier and tracking number
- The Items being returned, and for exchanges, an Exchange for section with the items they’ll receive
- A Download Shipping Label button once the label is ready
Emails Along the Way
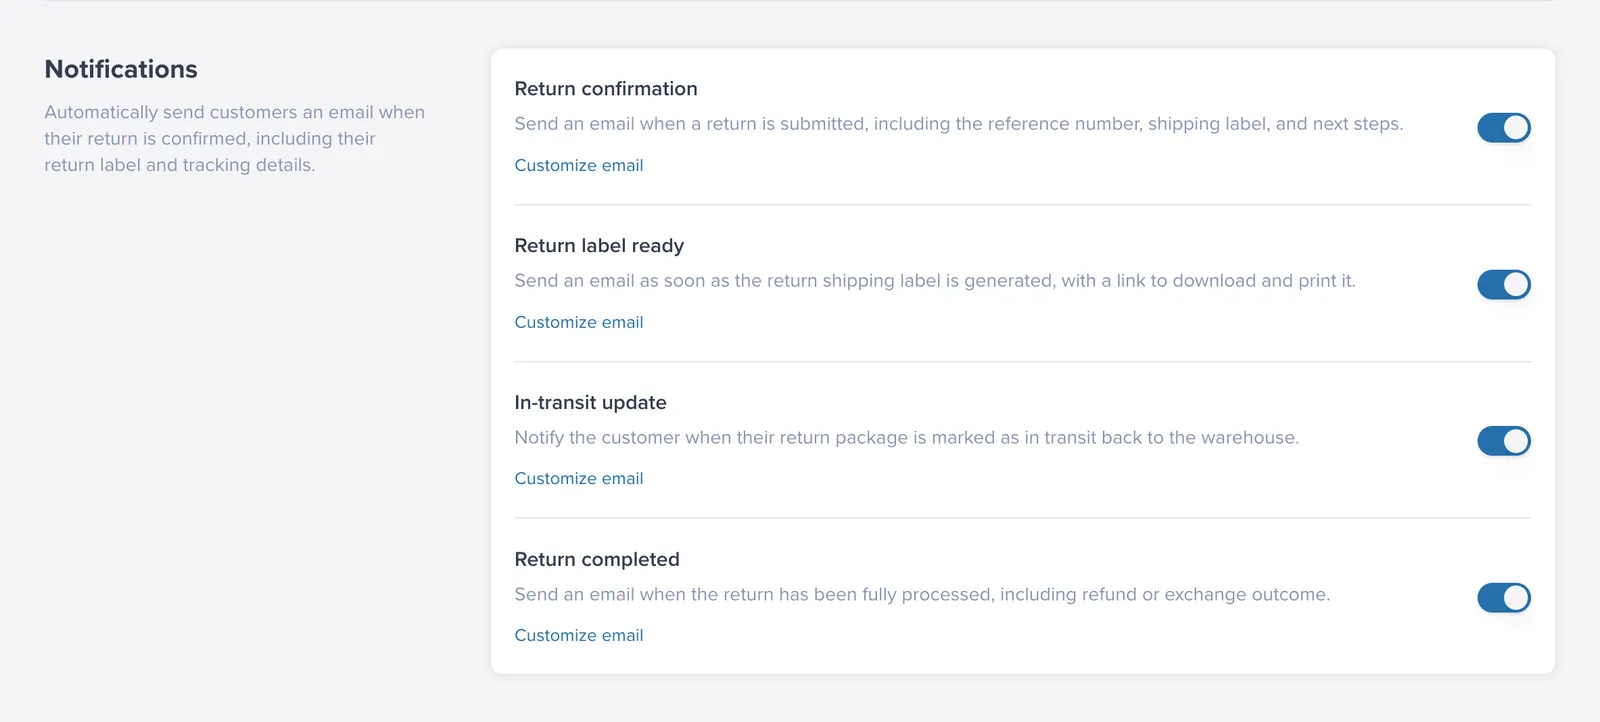
Customers receive automatic emails at each stage: Confirmation at submission, Label ready when the label is created, In transit at first carrier scan, and Completed when the return closes. All templates are customizable — see Return Statuses & Lifecycle Reference.
FAQ
Can a customer open multiple returns for the same order?
If a return is already open for that order, customers are directed to the existing return status page instead of creating a duplicate.
Why is an item shown as non-returnable?
Common reasons include being outside the return window, not yet fulfilled, tagged non-returnable, hazmat restrictions, or quantities already used on another return.
When can customers download the return label?
The Download Shipping Label action appears after label creation succeeds, either automatically or after manual approval.