Setup with API Token
This page shows how to connect using an API token that you generate from your ShipBob dashboard. If your AI app supports sign-in with your browser (most modern versions do), the standard Setup is easier - you just paste a URL and sign in. No token needed.
When to Use This Method
Use this setup if:
- Your AI app doesn’t offer a “sign in with browser” option when you add the ShipBob server
- Your workplace requires you to use an API token instead of signing in through the browser
- You prefer to generate and manage a token yourself
If you’re not sure, try the standard setup first. You can always come back here if it doesn’t work with your app.
Step 1 - Generate a ShipBob API Token
- Log in to your ShipBob dashboard:
- Production: web.shipbob.com
- Sandbox: webstage.shipbob.dev
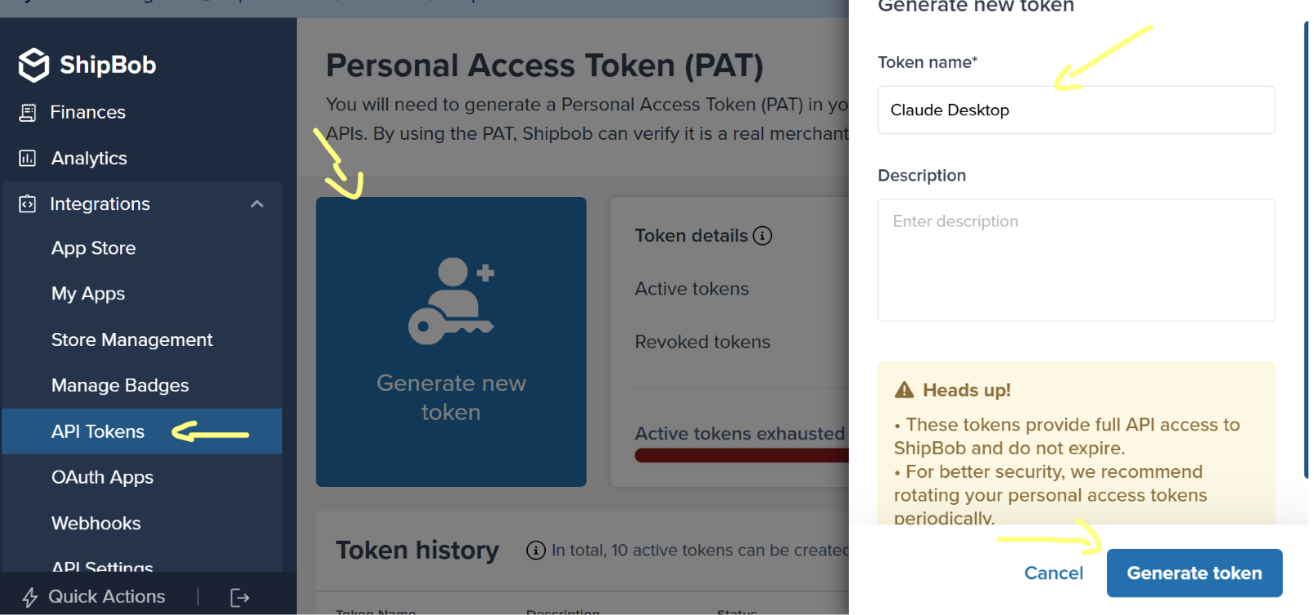
- In the left sidebar, click Integrations
- Click API Tokens, then Generate New Token
- Give the token a name (e.g.,
Claude Desktop) and click Generate - Copy the token immediately - it is only shown once
For more detail on token generation, see Authentication.
Step 2 - Configure Your AI Client
Pick your app below and follow the instructions.
Claude Desktop
Claude Desktop needs a helper tool called mcp-remote to send your token to ShipBob. This requires Node.js to be installed on your computer.
Before you start: Download and install Node.js (LTS). After installing, open a terminal (Command Prompt on Windows, Terminal on Mac) and type node --version to confirm it’s working. You should see a version number like v24.15.0.
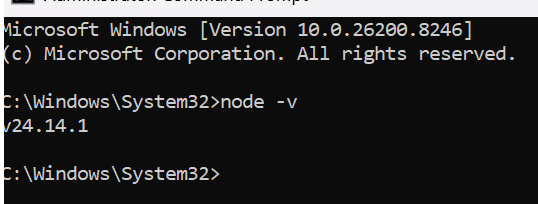
'node' is not recognized or command not found, restart your computer and try again.-
Open Claude Desktop
-
Open the configuration file:
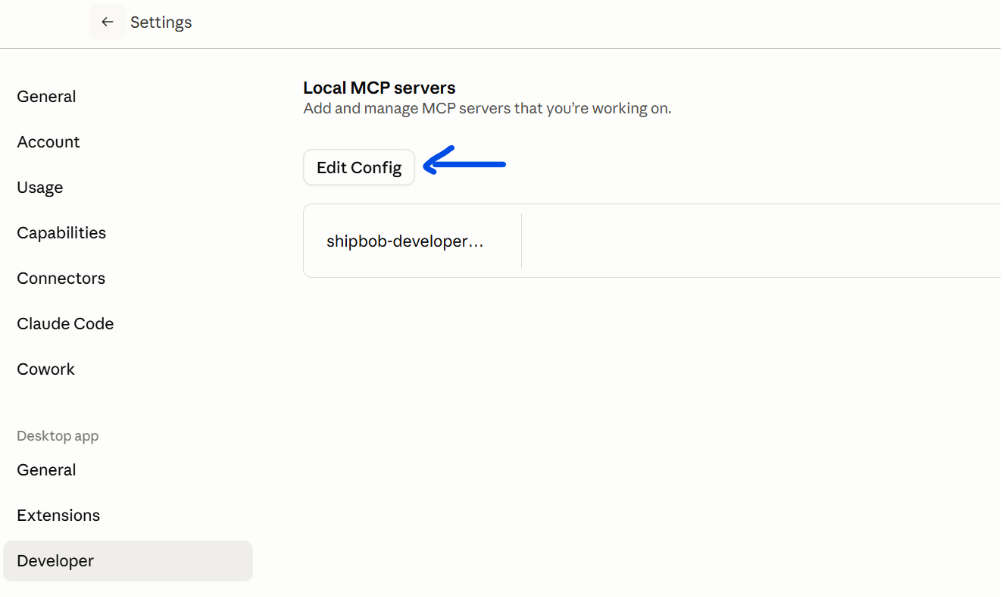
- Windows: Click File → Settings → Developer → Edit Config
- Mac: Click Claude in the menu bar → Settings → Developer → Edit Config
-
A file called
claude_desktop_config.jsonopens in your text editor (Notepad on Windows)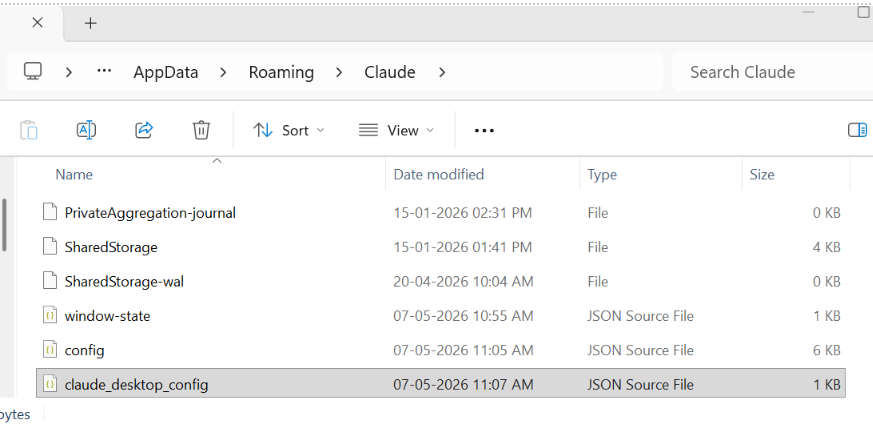
-
Add the ShipBob connection:
Empty config file
File already has other servers
If the file is empty or contains only
{}, delete everything and paste this: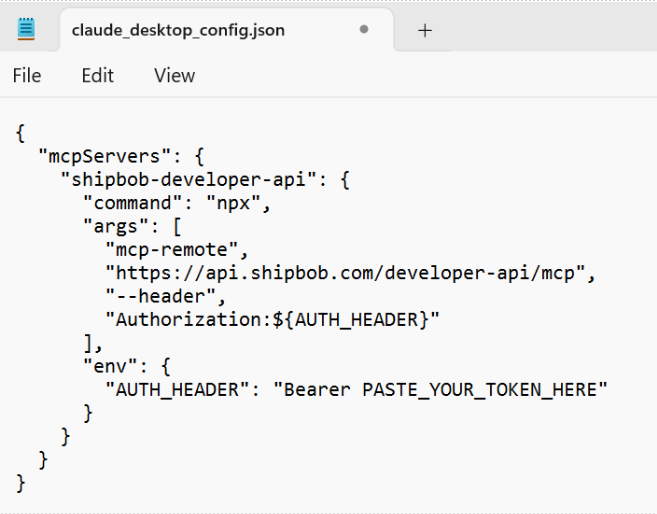
For sandbox, swap the URL to
https://sandbox-api.shipbob.com/developer-api/mcp. -
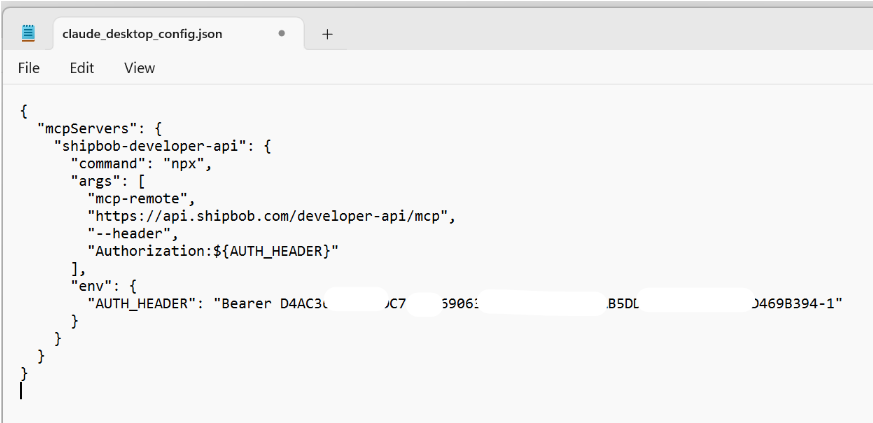
Find the line that says
PASTE_YOUR_TOKEN_HEREand replace it with the token you copied in Step 1.Keep the wordBearerand the space before your token. The line should look like:"AUTH_HEADER": "Bearer D4AC36BF5C5...4-1"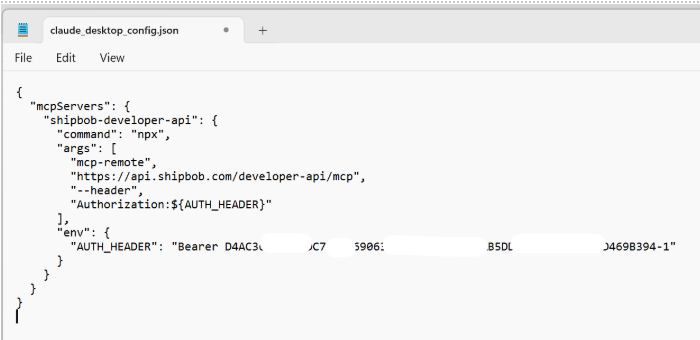
-
Save the file (
Ctrl+Son Windows,Cmd+Son Mac) -
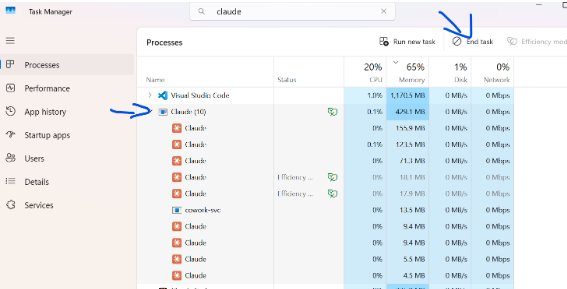
Fully close Claude Desktop - don’t just minimize it:
- Windows: Open Task Manager (
Ctrl+Shift+Esc) → find Claude → right-click → End Task - Mac: Right-click Claude in the Dock → Quit
- Windows: Open Task Manager (
-
Reopen Claude Desktop
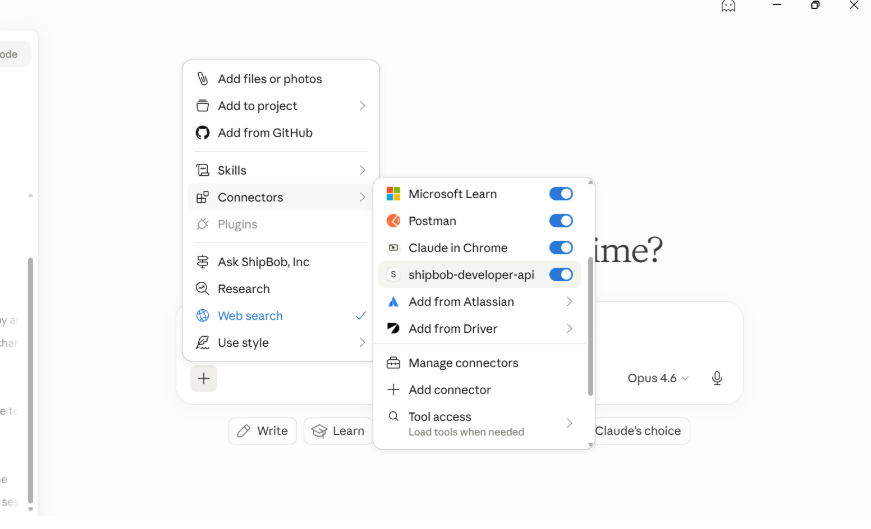
Open a new chat and you should see the ShipBob connector listed. Ask Claude,
What ShipBob tools are available?, to verify the connection.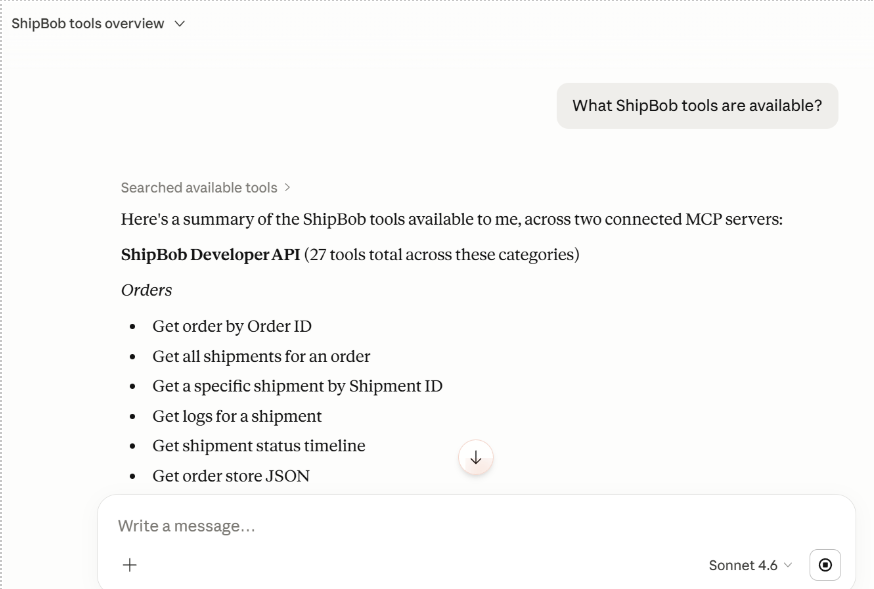
VS Code with GitHub Copilot
VS Code can connect to ShipBob directly with your token - no extra tools needed.
Add the following to .vscode/mcp.json or your user MCP config:
When you start the server for the first time, VS Code asks you to enter your token. Paste the token you copied in Step 1 (without Bearer - VS Code adds that automatically).
For sandbox, swap the URL to https://sandbox-api.shipbob.com/developer-api/mcp.
Other AI Apps
If your app lets you add a remote server with custom headers, configure it with:
If your app uses a JSON config file, the entry typically looks like:
If your app only supports running a local command (not a URL), you can use mcp-remote as a bridge. This requires Node.js:
Step 3 - Verify the Connection
Start a new chat and type:
If set up correctly, your AI client lists the available ShipBob tools.
Common Errors
Need Help?
- Standard Setup - easier setup that works by signing in through your browser
- Authentication - more details on generating API tokens
- Troubleshooting & FAQ - common issues and fixes