Sandbox Simulations
ShipBob’s Simulation Terminal is now available in all sandbox accounts. It lets you simulate the full lifecycle of ShipBob operations — fulfillment, receiving, and inventory adjustments — directly from the merchant dashboard, without needing real warehouse activity.
This is the fastest way to test your integration end-to-end and build confidence before going live.
Before You Start
Make sure the following conditions are met before running a simulation.
Fulfill Order
- Packaging Preferences: Set via API or in Merchant App → Products → [Your Product] → Packaging Preferences.
- Customs Info: Required if testing international shipments (set under Customs Information).
- Shipment Status: Must not be On-Hold, Exception, or Cancelled.
- Test Payment Method: Add a dummy card in Dashboard → Payment Details using
4111 1111 1111 1111, any name, email, expiration, and CVC.
Receive WRO
- FC Access: Your account must have access to the spoke FC location where the WRO will be received.
Adjust Inventory
- Bin Stock: Inventory must be present on a bin in the FC allocated to your account.
Accessing the Simulation Terminal
The Simulation Terminal is embedded at the bottom of the Orders, Inventory Status, and Warehouse Receiving Orders pages in your sandbox account here.
- Log in to your sandbox account.
- Look for the Simulations bar pinned to the bottom of the screen.
- Click it to expand, or toggle it with
Ctrl+M. - Use the icons in the panel header to toggle fullscreen, switch the theme (dark/light), and minimize or close the terminal.
Available Commands
All commands accept a leading / (e.g., /help, /list). The slash also triggers the autocomplete dropdown — see Command Autocomplete below.
Command Autocomplete
Type / at the prompt to open the suggestions dropdown. It surfaces every built-in command plus every workflow registered in your sandbox.
- ↑ / ↓ — Move through suggestions
- Tab — Insert the highlighted suggestion
- Enter — Run the highlighted suggestion
- Esc — Dismiss the dropdown
The list filters live as you keep typing — e.g., /f narrows to commands starting with f such as /fulfill-order.
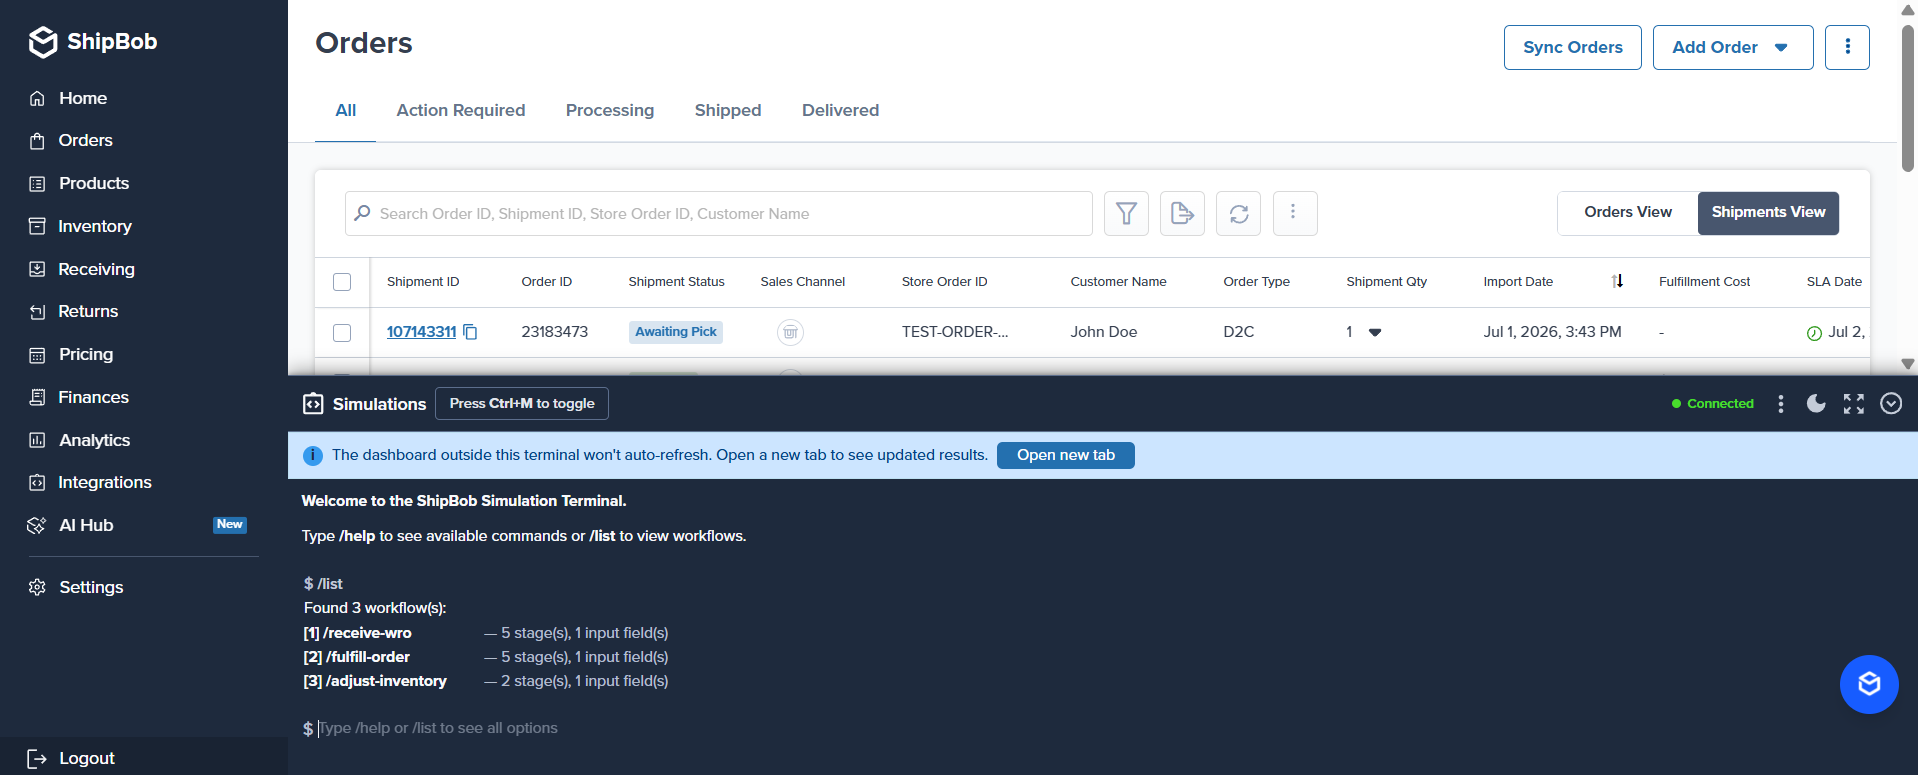
Available Workflows
Run /list in the terminal to see all workflows available in your sandbox:
Tutorial: Simulating Order Fulfillment
The /fulfill-order workflow is the most commonly used simulation. It walks a shipment through every stage of the fulfillment pipeline — from picking to delivery — so you can test webhook handlers, polling logic, and UI state transitions without touching real inventory.
Step 1: Get a Shipment ID
From the Orders page in your sandbox, find a shipment in Awaiting Pick status and copy its Shipment ID (e.g., 106675083).
Step 2: Start the workflow
In the Simulation Terminal, type:
When prompted, enter the Shipment ID:
Step 3: Choose stages to run
The workflow will display all available stages:
- Press Enter to run the full workflow from start to finish.
- To run a specific stage range, use the
--fromand--toflags instead:
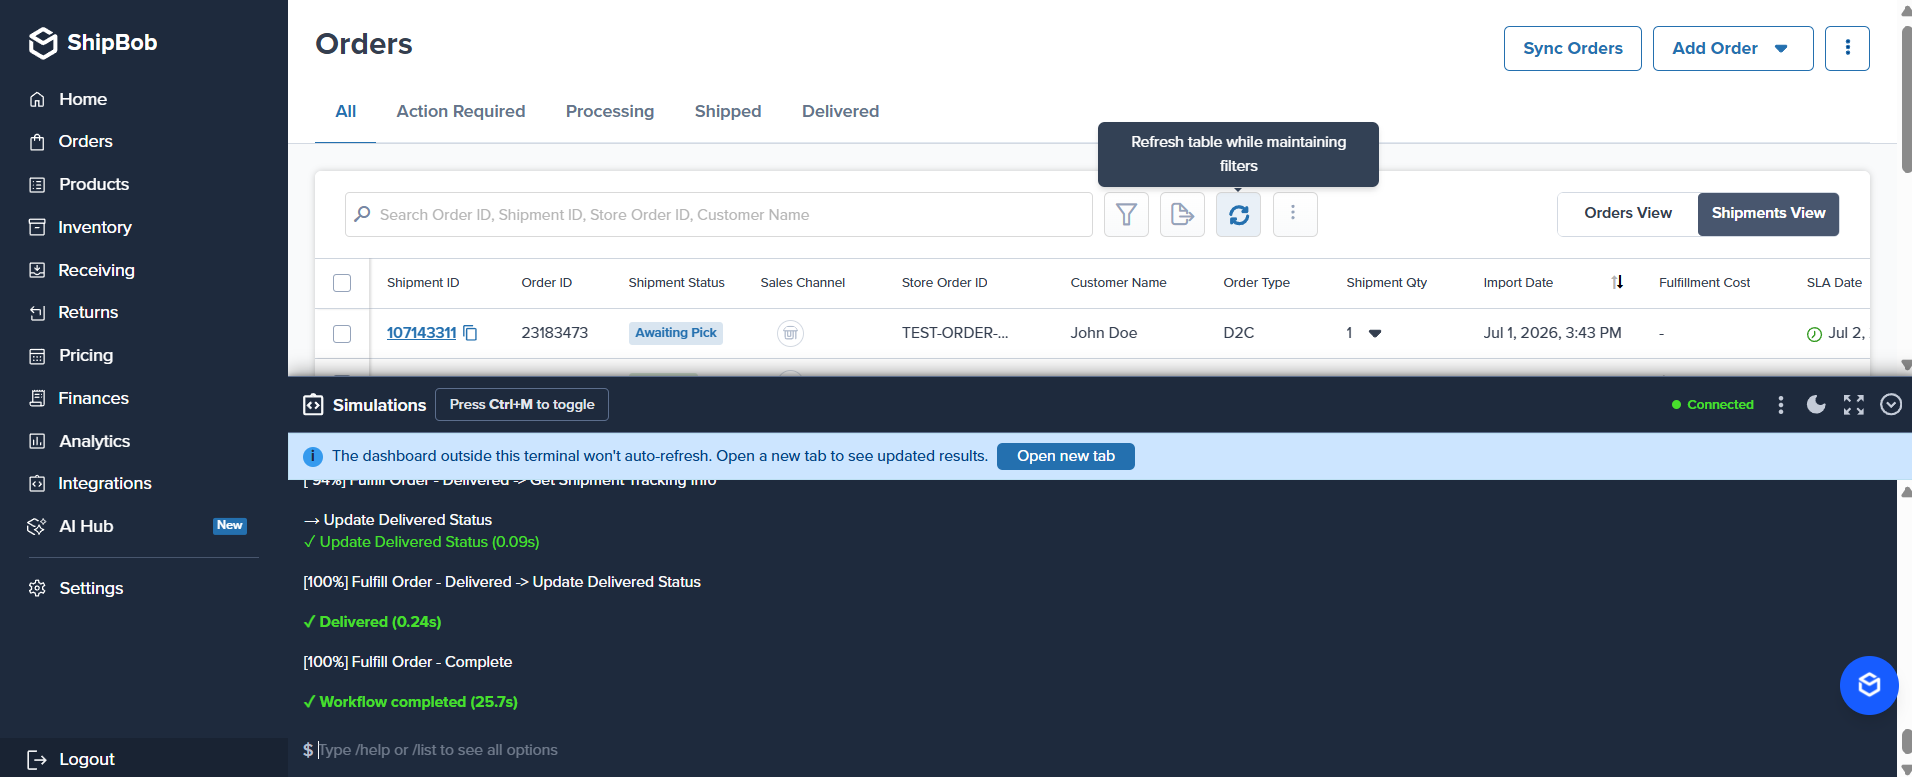
Step 4: Watch real-time progress
The terminal streams live progress as the workflow runs:
Each stage maps to real status transitions in the ShipBob platform. You can use these to verify that your integration correctly handles each shipment status.
Shipment Status Transitions
Other Workflows
/receive-wro
Simulates a Warehouse Receiving Order being processed at a ShipBob fulfillment center. Useful for testing inventory replenishment flows and WRO webhook events.
/adjust-inventory
Simulates an inventory quantity adjustment. Useful for testing low-stock alerts, inventory sync logic, or backorder scenarios.
Tips
-
Refresh after a simulation — The current page doesn’t auto-update. Click the refresh icon in the table or open a new tab to see the latest shipment or inventory state.
-
Run partial workflows — Start from any stage to test a specific status transition without re-running the full lifecycle.
-
Chain workflows — Run
/receive-wroto stock inventory, then/fulfill-orderto move it through fulfillment, all in the same sandbox session. -
Verify webhooks in real time — The terminal’s live output is synchronized with the actual API calls, so webhook events fire at the exact moment each stage completes.
-
Discover commands fast — Press
/at any time to open the autocomplete dropdown, thenTaborEnterto insert the highlighted command. Workflow IDs appear in the same list once your sandbox finishes loading them. -
Switch themes — Use the sun/moon icon in the panel header to toggle between dark and light mode. Dark mode is the default; your choice is persisted per browser.
Supported Environments
The Simulation Terminal is available exclusively in sandbox accounts (webstage.shipbob.dev). It is not available in production.
FAQ
What can I simulate?
Using the UI Terminal, the following workflows are supported:
- Fulfill Order — Simulate shipping and delivering an order (5 stages).
- Receive WRO — Simulate receiving a warehouse receiving order (5 stages).
- Adjust Inventory — Simulate inventory adjustments (2 stages).
Using the API, you can simulate shipment events only:
- Mark as Shipped — Mark a shipment/order as shipped.
- Mark as Delivered — Mark a shipment/order as delivered.
Can I simulate an order in any status?
No. The order cannot be On-Hold, Exception, or Cancelled.
Can I simulate in the production environment?
No. Simulations are only supported in the Sandbox.
Do I need inventory to simulate a shipment?
Yes. Inventory must be available in a supported fulfillment center.